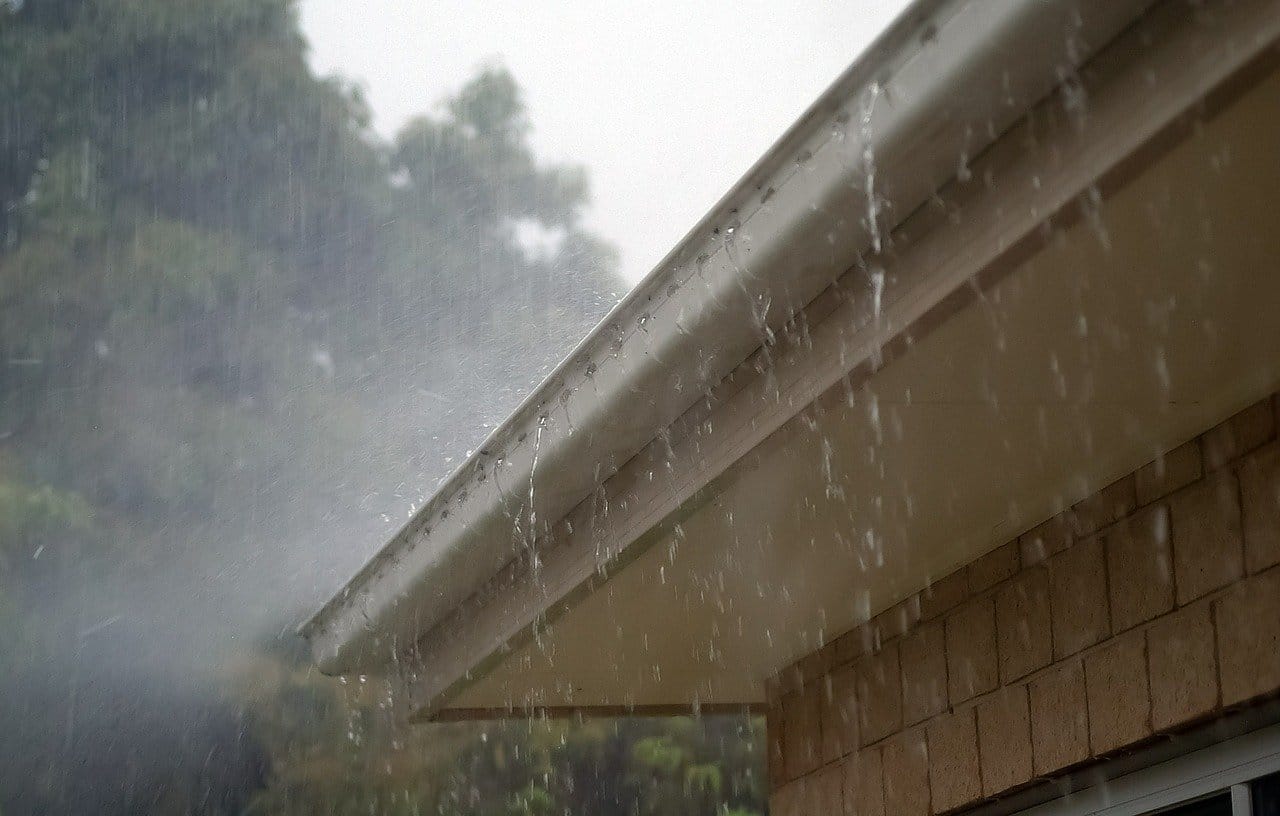
Here are 10 steps on how to install gutter sealant to fix gutters, stop leaks, and seal cracks, and broken seams. These simple steps will help you select and apply the right sealants for fixing leaks. Note that the market for gutters is worth more than $7 billion a year.
So, if you do not repair your gutter as soon as there is a hole, you’ll definitely end up contributing to the $7 billion market by buying a new set of gutters.
Worse, you’ll probably have to get someone to install it for you as it is not that easy to install.
So, best for you to ensure that repair your gutters as soon as you have a leak.
Why should you use a gutter sealant?
Gutter sealant is a water-resistant adhesive material used to seal flat surfaces such as roofing, flashing, and gutters.
It is applied over the surface in question. It can also be used to fix the void between different gutter sections. This is called in the community a leaking gutter joint.
Gutter sealants have been used for many decades to prevent gutter leakage around the roof, fascia boards, and panels. It is a great choice for those who want to waterproof their home without the need of replacing the gutters.
There are many types of sealant and some are applied to join between copper and plastic gutters as well as among copper and aluminum gutters.
How long does the gutter sealant last?
The lifespan of the sealant depends on the conditions it is being used and the maintenance of your gutters.
It can last for a few years if it is installed properly and maintained, but some will need to be reapplied after six months (this is very rare) if the water is not draining properly.
Gutter Sealant is a relatively new term and has become popular in recent years, but as I said above, it has been around for decades. The most common types of gutter sealants are silicone, urethane, and polyurethane.
Step 0 – Evaluate and plan the cleaning or replacement of the gutter
If you are considering gutter replacement, do not think of it as an easy DIY project. Evaluate the condition of your existing gutters and make a plan on how to deal with them.
If your gutters are in a very deteriorated condition, they might have been damaged beyond repair.
In that case, it is better for you to just get new ones as replacing the whole gutter can be a very expensive and time-consuming task.
If you are considering gutter replacement, do not think of it as an easy DIY project. Plan ahead what you need, the tools, the materials, and if you need any special ladder or elevating system.
Step 1 – Clean Your Gutters from debris

Make sure that your gutters are washed and free of any debris. Using a wide-blade rake, rake out any debris in your gutters.
This step is extremely important, though trivial and easy. Debris is the number one cause of leaking. Removing these will help you seal leaking gutters.
Step 2 – Identify Leaks

To determine the places where leaks can be fixed, you need to identify the areas where the water can seep.
Get a hose and start pouring water from the top end of the gutter. Take a marker pen and mark areas where water is dripping off the gutter. Let the gutter dry out.
Step 3 – Choose The Right Sealant
Now that you know where the holes are in your gutter, you need to look for a good sealant. The sealant must be easy to apply and suitable for your gutters. There are sealants for aluminum gutters and some for plastic gutters, etc.
So choose wisely. I have put together a list of excellent sealants here just to ease the pen in searching for these.
Some of the best sealants are Rust-Oleum, Geocel Corp, Dap, Liquid Rubber, Liquid Rubber, GE Aluminum (for metal type gutters), and Loctite Stik’n Seal (metal or plastic gutters). They are all on my list of excellent sealants (see link in the previous paragraph).
What you need to check is that the sealant is strong enough to endure heavy rain and the elements such as snow, etc. Also, ensure the sealant is strong enough to make the gutter watertight (use the above-mentioned brands and you should be fine).
By the way, do not forget to follow the instructions before applying the sealant.
Now you have your sealant, you have to first test it on your gutters. You need to make sure that it seals your gutter well. So, take the time to do a small trial before you engage in repairing the leaking gutter.
Step 4 – Second Clean of The Gutters
It is time to prepare your gutter for the sealant. You need to have it crystal clean in the areas where there are holes. Wipe down your gutter with a sponge or microfiber cloth, then spray it down with a mild dishwashing liquid. Let it dry.
Step 5 – Apply The Sealant – First fix
Now, you can apply the sealant to all of the holes. Follow the instruction provided with the sealant by the manufacturer. Do not deviate from these as the sealant may not dry properly if you mix the sealant with other liquids, dirt, etc.
That’s it, now you should know how to install gutter sealant.
Step 6 – Cure And Dry
This is where there’s no action on your part. You just need to wait for the sealant to cure and to completely dry. This may take up to 36 hours for some brands. I can tell it is well worth the wait.
Step 7 – Check For Leaks
The sealant has now been completely cured. It is time to check for leaks again. The only thing you need to do is to pour water from the top end and investigate any holes, identify these, mark them, and move to the second fix.
Step 8 – Second Fix – More Sealant

You now need to fix the gutters from those leaks that you forgot during the first fix. Get the sealant and start applying it to the hole you found in Step 7. I am sure you are a professional now in applying the sealant.
Step 9 – Wait For a Couple Of Days – One Last Check
Now you are confident that your gutters do not leak. Well, wait for a couple of days and check for leaks again.
The reason for this step is that you may have focused all of your energy on fixing the big holes, but forgot the tiny ones that are almost invisible to the eye.
You know the ones I am talking about, the “one-drop” of water-type holes (one drop of water coming off the gutter every 1 min or 2 min).
These are really hard to find when you have big holes to deal with but extremely easy to deal with when you have no major leaks anymore.
Again, when you identify one of those small holes, just repeat the steps above and ensure you install gutter sealant at the appropriate locations.
Step 10 – Conclusion On How To Install Gutter Sealant
In summary, fixing a gutter is very easy if you have the appropriate tools and sealants. You need to check for holes every three years and aim at fixing these on the spot.
Don’t delay this, as you may end up with a bigger and bigger hole till you have to replace the complete gutter, which is an expensive exercise.
It is always best to fix the small holes than to pay someone to replace your gutters.
Step 11 – Quick Summary of what you need to do
Let me summarise what you need to do:
- Plan the cleaning (and worse the replacement) of the gutters.
- Remove the debris.
- Identify leaks.
- Choose a sealant.
- Clean the gutter for the second time.
- Apply the sealant.
- Let it dry.
- Identify any more leaks.
- Second Fix Of the Leaks
- Wait for a couple of days and the final check
- You’re done
Now, you’re covered. Enjoy sealing your gutter.
References:
https://www.researchandmarkets.com/reports/5146248/rain-gutter-market-research-report-by-type-by
https://www.researchgate.net/publication/41163114_Rainwater_Storage_Gutters_for_Houses


